
There is something extraordinarily comforting about the warm, sweet aroma of freshly steamed modak filling a home kitchen. That delicate, pillow-soft rice flour casing wrapping around a juicy, fragrant center of fresh coconut and melt-in-your-mouth golden jaggery is pure culinary magic.
While modak is famously celebrated across India as the absolute favorite sweet offering (naivedya) for Lord Ganesha during Ganesh Chaturthi, you certainly do not need a major festival as an excuse to make them. Learning to craft authentic Ukadiche Modak—the traditional Maharashtrian steamed version—is a deeply satisfying kitchen project that brings warmth, sweetness, and genuine tradition straight to your family table.
If you have ever felt intimidated by the delicate pleats, worried about ending up with a dry, cracked outer shell, or had filling leak all over your steamer, you are in good company. Making soft, melt-in-your-mouth modaks isn’t about having professional pastry skills; it all comes down to mastering two fundamental kitchen principles: dough hydration and filling moisture consistency.
This ultimate guide walks you through every detail, secret tip, and practical technique to help you make soft, glossy, and tear-free modaks from scratch with complete confidence.
What Is Ukadiche Modak?
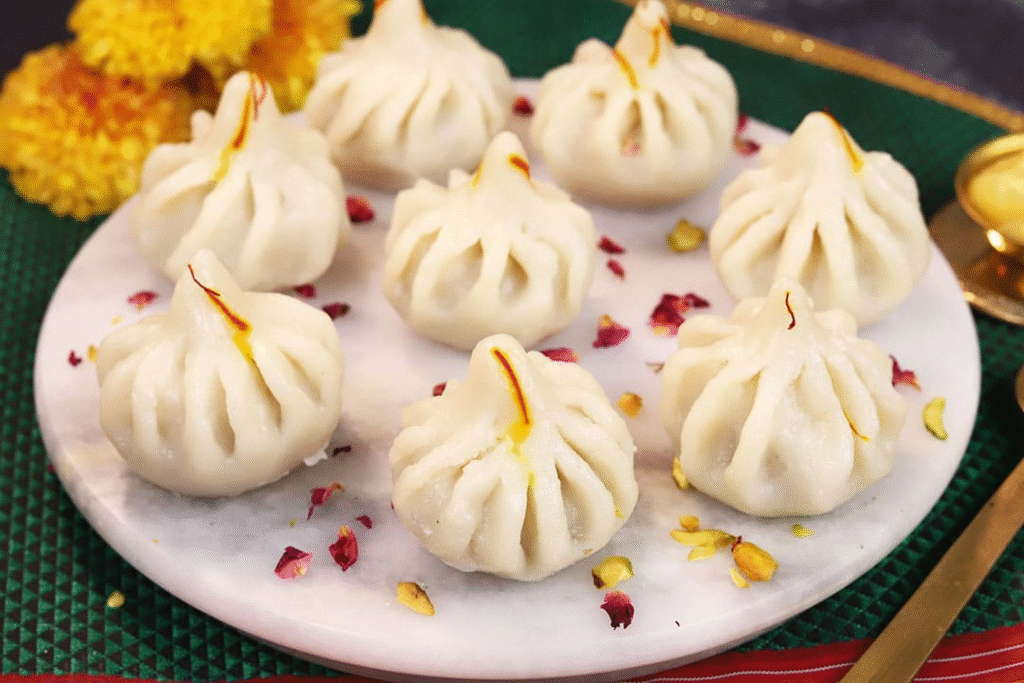
In Marathi, the word “Ukad” translates directly to steamed dough or the act of steaming. While there are deep-fried modaks made with whole wheat flour, as well as modern instant variations crafted from mawa, milk powder, or chocolate, Ukadiche Modak remains the most authentic, healthiest, and most revered form of this sweet.
It consists of two main components:
- The Outer Cover (Ukad): A tender, delicate dough made from fine rice flour that is cooked first in boiling water with a touch of ghee, and then steamed to a glossy, translucent finish.
- The Sweet Filling (Saran): A rich, aromatic mixture of freshly scraped coconut, unrefined dark jaggery, warm cardamom, a hint of nutmeg, and roasted poppy seeds (khus khus).
Because these sweet dumplings are steamed rather than fried, they have a light, velvety texture that lets the natural sweetness of fresh coconut and caramel-like jaggery shine through without feeling heavy or greasy.
Recipe Overview & Timings
- Prep Time: 25 minutes
- Cook Time: 20 minutes
- Total Time: 45 minutes
- Yield: 10 to 12 medium-sized modaks
- Difficulty Level: Intermediate
Ingredients & Quantities
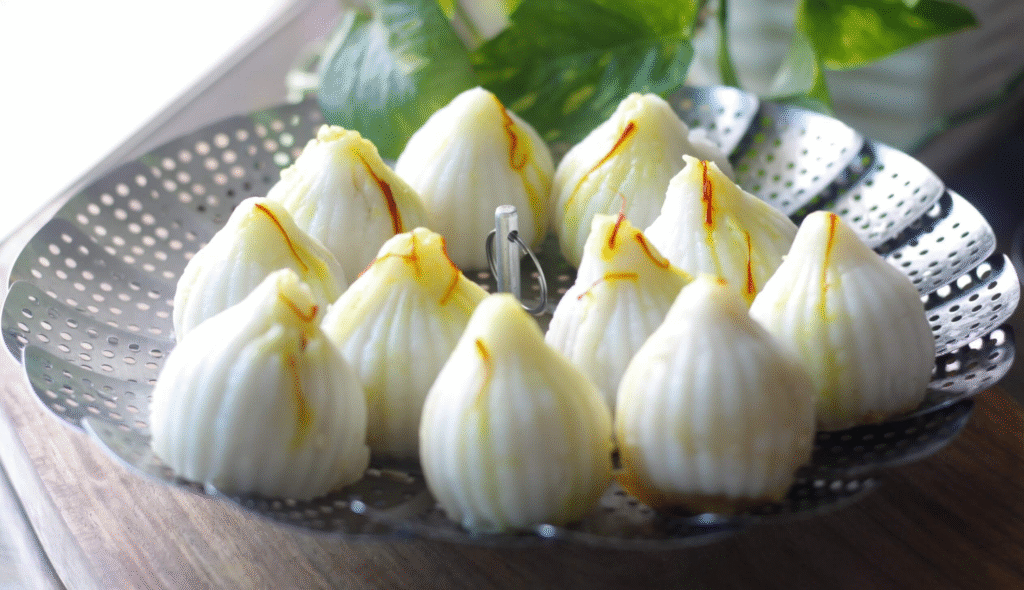
To achieve that authentic taste and pillowy soft texture, using simple, high-quality ingredients makes all the difference in the world.
| Outer Dough (Ukad) | Sweet Filling (Saran) |
| • 1 cup Fine Rice Flour (Modak Peeth) | • 1.5 cups Fresh Coconut (scraped or grated) |
| • 1.25 cups Water | • 3/4 cup Dark Jaggery (Gur, finely chopped) |
| • 1/2 tsp Ghee (Clarified Butter) | • 1/2 tsp Green Cardamom Powder |
| • 1 Pinch Salt | • 1 Pinch Nutmeg Powder |
| • 2 tbsp Milk (Optional, for white finish) | • 1 tsp Poppy Seeds (Khus Khus) |
| • 1 tsp Ghee |
Key Ingredient Notes & Buying Tips
- Rice Flour Selection: Look specifically for flour labeled as Modak Peeth, or flour ground from aromatic, high-starch rice varieties like Ambemohar or Indrayani. High-starch flour gives the dough the natural elasticity needed to hold pleats without cracking. If using store-bought regular rice flour, look for the finest ground option available.
- Fresh Coconut vs. Dry Coconut: Always use freshly scraped coconut. Dry or desiccated coconut flakes lack the natural coconut milk and essential oils required for a juicy, tender center.
- Jaggery Choice: Soft, dark organic jaggery melts smoothly and offers a deep caramel flavor. Avoid extra-hard jaggery blocks, as they take too long to break down on the stove and can cause the coconut to overcook and turn rubbery.
Essential Kitchen Tools You Will Need
Having your workspace fully prepped before heating the stove makes the entire shaping process smooth and stress-free:
- A heavy-bottomed pan or kadai (for cooking the filling and steaming the flour)
- A wide, flat steel plate (parat) or mixing bowl (for kneading the warm dough)
- A steamer, idli maker, or a deep pot equipped with a fitted colander
- A clean, damp muslin or cotton kitchen towel
- A banana leaf, turmeric leaf, or parchment paper (to line the steamer tray)
- A classic brass or food-safe plastic modak mould (optional, if you prefer not to hand-pleat)
Step 1: Prepare the Sweet Coconut-Jaggery Filling (Saran)
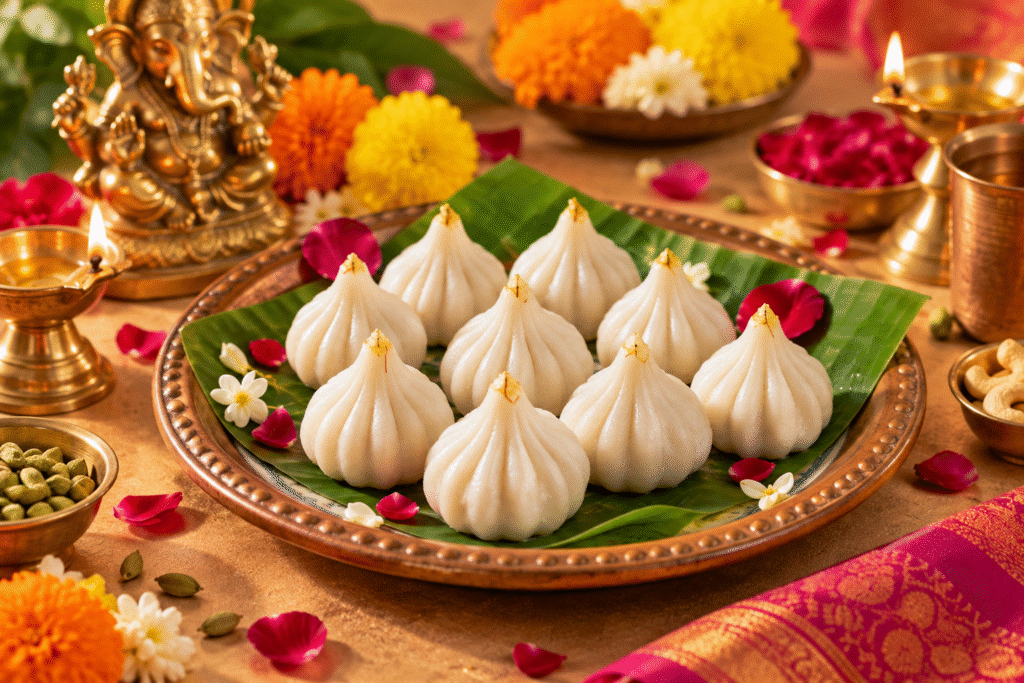
Getting the filling right keeps your modaks from turning soggy or bursting open during steaming. The goal is a moist, cohesive mixture that holds together easily without releasing free liquid.
1.Toast the Poppy Seeds:Adds a subtle nutty crunch and aroma.
Heat a heavy pan over a low flame. Add 1 teaspoon of ghee and 1 teaspoon of poppy seeds (khus khus). Warm gently for 30 seconds until aromatic and lightly golden.
2.Combine Coconut and Jaggery:Maintain low to medium heat.
Add 1.5 cups of freshly grated coconut and 3/4 cup of finely chopped jaggery to the pan.
3.Melt and Blend:Stir continuously to prevent burning.
As the jaggery melts, the mixture will look loose and liquidy. Keep stirring over low heat for 4 to 6 minutes until the excess moisture evaporates and the mixture pulls together into a soft, cohesive mass.
4.Spice and Cool Completely:Never insert hot filling into soft dough.
Stir in 1/2 teaspoon of cardamom powder and a pinch of nutmeg. Turn off the heat and spread the filling onto a wide plate to cool completely to room temperature.
Testing Doneness: Take a small spoonful of warm filling and roll it between your fingers. It should hold its shape as a soft ball without feeling watery or sticking aggressively to your skin. If it feels liquidy, return it to the pan for 1 more minute.
Step 2: Master the Rice Dough (Ukad)
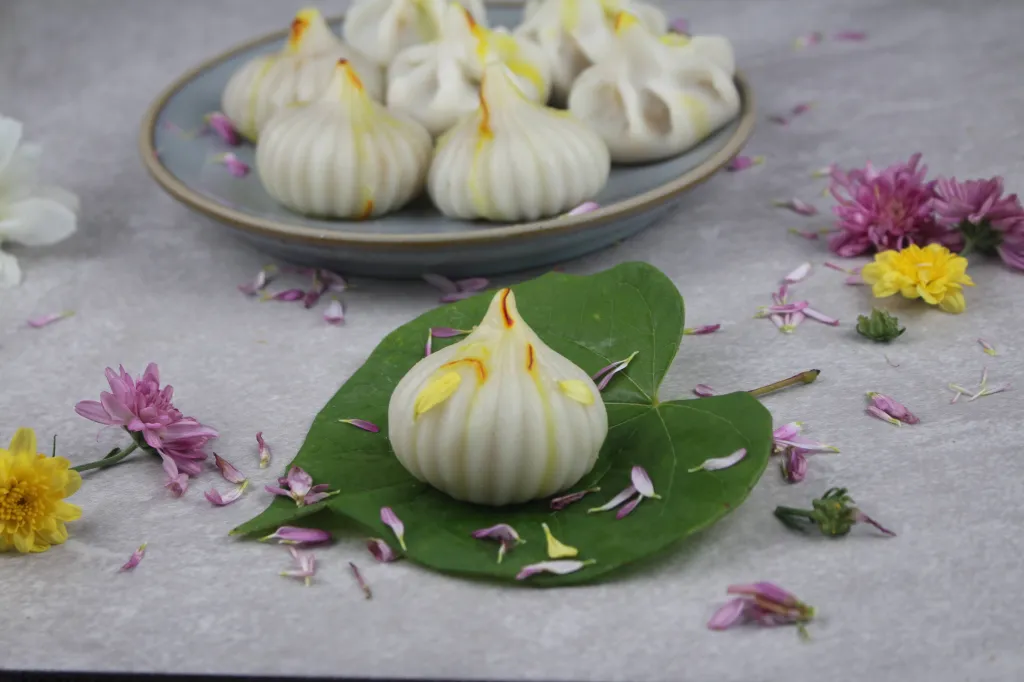
Cooking the flour in boiling water gelatinizes the starches. This is the single most crucial step that makes the dough stretchy, pliable, and easy to fold without splitting open.
1.Boil the Liquid Base:Milk keeps the outer casing pristine white.
In a saucepan, bring 1.25 cups of water to a rolling boil. Stir in 1/2 teaspoon of ghee, a pinch of salt, and 2 tablespoons of milk.
2.Incorporate the Flour:Stir rapidly to prevent large lumps.
Turn the heat down to low. Add 1 cup of fine rice flour all at once. Stir rapidly with the handle of a wooden spoon or spatula until the flour completely absorbs the liquid and forms a shaggy dough.
3.Trap the Steam:Lets the starches cook through completely.
Cover the pan tightly with a lid and turn off the flame. Let it sit undisturbed on the warm burner for 5 to 7 minutes so the trapped steam cooks the starches through.
4.Knead While Warm:Essential step for a crack-free casing.
Transfer the warm flour mixture onto a wide plate. Lightly wet your hands with cool water or grease them with ghee, then knead vigorously for 5 to 8 minutes until a smooth, glossy, crack-free dough ball forms.
Troubleshooting the Dough: If the dough feels crumbly while kneading, splash a teaspoon of warm water over it and continue kneading. If it feels too sticky, grease your palms with ghee—avoid adding raw, uncooked dry flour. Always keep the dough covered with a damp towel so it does not dry out.
Step 3: Shape the Modaks (Two Easy Techniques)
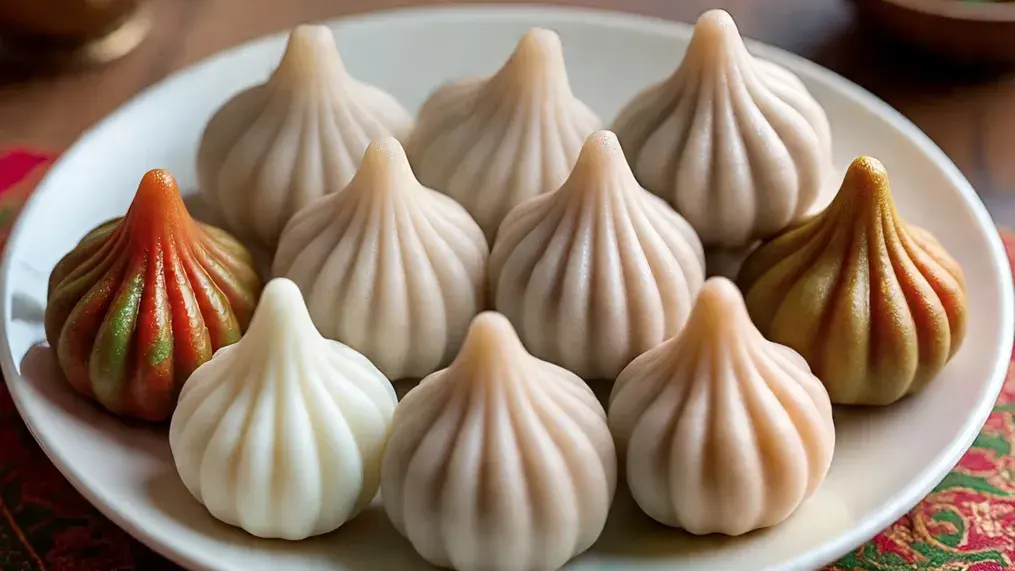
You can shape modaks using traditional hand-pleating or speed up the process with a modak mould. Both methods yield beautiful, authentic results!
Method A: Traditional Hand Pleating
- Roll a Portion: Take a small, lime-sized portion of dough (about 2 tablespoons) and roll it smoothly between your palms.
- Flatten into a Cup: Dip your thumbs in a little ghee or water. Press your thumbs into the center of the dough ball while gently pushing outward with your fingers to form a shallow bowl or cup shape (pari).
- Thinner Edges, Thicker Base: Keep the center of the cup slightly thicker than the rim so it can support the weight of the sweet filling without tearing.
- Create the Pleats: Hold the dough cup in one hand. Using the thumb and forefinger of your other hand, pinch small, vertical folds (pleats) along the edge, roughly half an inch apart. Aim for 7 to 11 pleats around the circle.
- Fill and Seal: Place a generous tablespoon of cooled filling in the center. Carefully bring the tops of all the pleats together toward the middle. Pinch them tightly at the peak to form a pointed crown (tupa), making sure no openings remain for the filling to leak.
Method B: Using a Modak Mould (Faster & Uniform)
If you are making a large batch for guests or want uniform shapes, a classic brass or food-safe plastic mould is a great time-saver:
- Latch the mould closed and grease the inside lightly with ghee.
- Take a small ball of dough and press it through the bottom opening of the closed mould. Push it against the inner walls using your index finger to create a hollow cavity in the center.
- Spoon the sweet coconut filling into the hollow space, filling it about three-quarters full.
- Take a tiny bit of dough, flatten it, and press it over the bottom hole to seal the base completely.
- Unlatch and open the mould carefully to reveal a neatly shaped, pleated modak.
Step 4: Steam the Modaks to Perfection
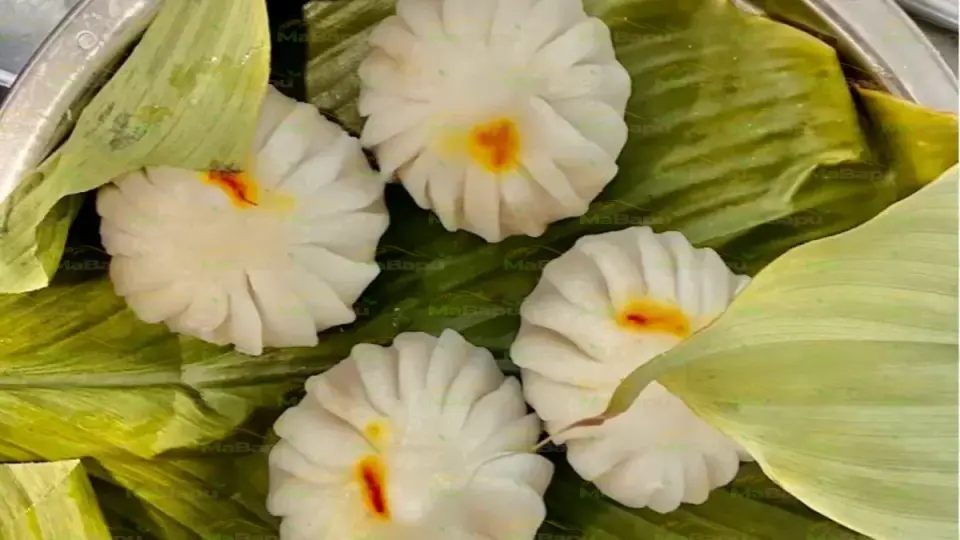
Steaming is what transforms the pale rice dough into a velvety, soft casing with its signature glossy finish.
1.Prep the Steamer:Line with aromatic leaves or parchment.
Bring water to a rolling boil in your steamer pot. Line the steamer tray with a wet cotton cloth, parchment paper, or traditionally, a fresh banana or turmeric leaf for a subtle, natural aroma.
2.Dip and Arrange:Prevents bottom sticking.
Quickly dip the bottom of each modak in a bowl of cold water (or ghee) for a fraction of a second before setting it onto the steamer tray. Leave a small gap between each one so they don’t stick together.
3.Steam for 10-12 Minutes:Maintain medium-high heat.
Cover tightly with a lid and steam over medium-high heat for 10 to 12 minutes. Avoid over-steaming, which can make the outer shell tough or rubbery.
4.Rest Before Serving:Lets the rice casing set properly.
Turn off the heat and let the steamer sit unopened for 2 minutes. Remove the lid, sprinkle a few drops of cold water over the modaks to settle surface stickiness, and let them rest for 5 minutes before handling.
How to Tell When They Are Fully Cooked
- Visual Test: The outer rice casing changes from a chalky, flat white to a soft, translucent, glossy finish.
- Touch Test: Touch the surface gently with a damp finger. The casing should feel firm, tender, and completely non-sticky.
Golden Rules for Perfect Modaks Every Time
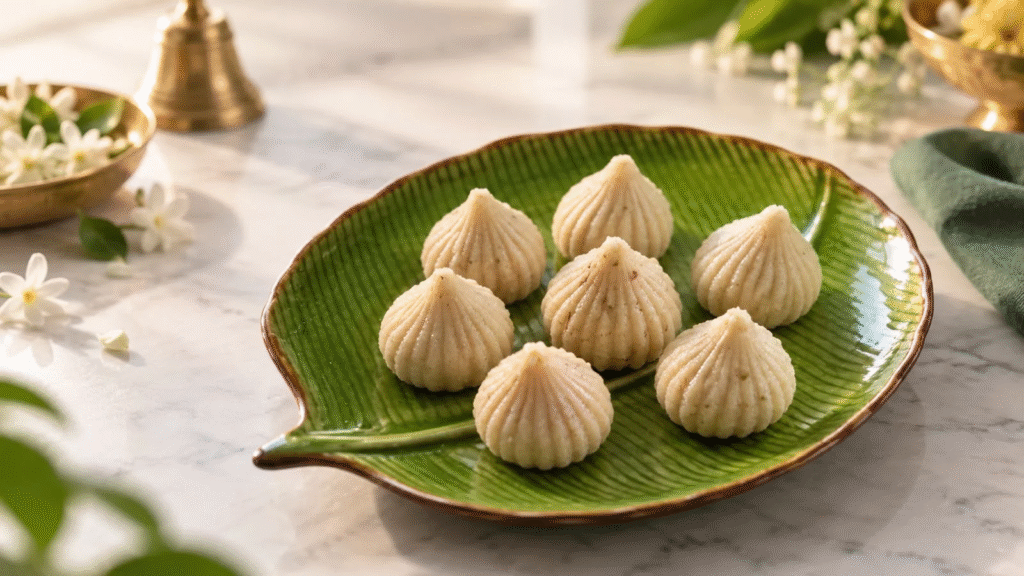
- Work with Warm Dough: Cold rice flour dough loses its flexibility and cracks when folded. Keep the dough bowl covered with a damp towel at all times, and knead small portions in your warm hands if it cools down.
- Don’t Overcook the Jaggery: Leaving jaggery on the heat for too long hardens it as it cools. Turn off the flame as soon as the jaggery melts and binds with the coconut.
- Cool the Filling Completely: Adding warm filling into soft rice dough melts the walls, causing the modak to collapse or split open during steaming.
- Keep Water Handy: Keep a bowl of room-temperature water nearby while pleating. Lightly wetting your fingertips makes shaping easier and keeps the dough hydrated.
Common Issues & Easy Fixes
| Problem | Cause | Simple Fix |
| Dough Cracks While Shaping | Dough is too dry, cold, or under-kneaded. | Knead in 1-2 teaspoons of hot water and a few drops of ghee until soft and supple. |
| Filling Leaks During Steaming | Peak was not sealed tightly or filling was wet. | Pinch the top peak firmly shut; cook the filling slightly longer next time to reduce moisture. |
| Casing Turns Rubbery or Hard | Over-steamed or under-cooked dough base. | Keep steaming strictly between 10 to 12 minutes over medium heat. |
| Dough Sticking to Hands | Excess water added during prep. | Grease your hands with a few drops of ghee rather than adding raw dry flour. |
Serving & Storage Suggestions
- How to Serve: Serve warm or piping hot. The traditional way to enjoy a modak is to gently break open the top peak (tupa) and pour a generous spoon of warm pure homemade ghee directly inside. A drizzle of saffron-infused warm milk over the top adds an extra festive touch.
- Storage: Because fresh coconut spoils quickly, steamed modaks are best eaten on the day they are made (within 8 to 12 hours). Leftovers can be refrigerated in an airtight container for up to 2 days.
- Reheating: Avoid microwaving cold modaks directly, as this dries out the rice flour shell and renders it leathery. Instead, re-steam them in a steamer for 3 to 4 minutes to restore their soft, fresh texture.
FAQs
1. Help! Why is my rice dough cracking while I try to shape the modaks?
This is easily the most common frustration when making modaks! Rice dough cracks for two main reasons: it’s either running dry or it has cooled down too much. Rice flour starches need heat and moisture to stay stretchy and soft.
If your dough feels stiff or crumbly, don’t panic. Splash about a teaspoon of warm water over it, add 2 or 3 drops of ghee, and knead it in your hands for a minute until it feels smooth like warm playdough. Most importantly, keep your unused dough bowl covered with a damp kitchen towel at all times so the kitchen fan doesn’t dry it out!
2. Can I just use regular store-bought rice flour, or do I need special flour?
Regular store-bought fine rice flour works just fine! While special Modak Peeth (ground from sticky, aromatic rice like Ambemohar) gives you that ultra-velvety finish, standard fine rice flour will still get the job done.
If you are using regular rice flour, here are two quick tricks: sift it first to remove any coarse grains, and add two tablespoons of milk to your boiling water base. The milk adds a little fat and moisture, which keeps standard rice flour soft and easy to work with.
3. Why did my coconut-jaggery filling turn rock-hard after cooling?
If your filling feels like hard candy instead of a juicy center, the jaggery was cooked on the stove for a minute too long. When jaggery boils, it cooks down quickly and hardens as it cools off.
Next time, keep your flame low. As soon as the jaggery melts and binds with the grated coconut into a soft mixture (usually within 4 to 6 minutes), turn off the stove immediately. Remember, the filling will naturally firm up a little more as it cools down on its own.
4. Can I make the filling a day before to save time on festival day?
Yes, and it’s a brilliant time-saver! You can make the sweet coconut-jaggery filling up to 3 days ahead of time. Just let it cool completely, pop it into a clean container, and keep it in the fridge.
The only rule? Take it out of the fridge an hour before you start shaping your modaks. Cold filling makes warm rice dough stiff and difficult to seal properly.
5. What if I don’t own an idli maker or a proper steamer?
You don’t need any special equipment to steam modaks! You can easily build an improvised steamer with basic cookware:
- Take a wide, deep pot or kadai and pour in 2 inches of water.
- Place a small heatproof bowl or ring stand upside down in the center.
- Set a steel colander or perforated plate on top of the bowl.
- Cover the whole thing with a tight lid, and you’ve got yourself a perfectly working steamer!