
Explore Home Improvement Trends 2026, featuring modern home ideas, practical upgrades, and stylish renovation trends designed for comfortable everyday living.
Now, homeowners are hitting the pause button.
We’ve lived in those ultra-minimalist, stark white boxes, and we’ve realized something crucial: they aren’t very practical to live in. High-gloss white cabinets show every single fingerprint. Open-concept living means the sound of a blender in the kitchen drowns out a phone call in the living room. Cold, hard surfaces make rooms feel drafty, echoey, and sterile.
The way we approach our living spaces has shifted toward something far more sensible, grounded, and human. We don’t want showroom houses anymore; we want homes that actually work for us. We want spaces that stay warm in the winter without blowing up our electric bills, storage that hides the chaos of everyday life, furniture that feels welcoming, and rooms that adapt to our routines instead of forcing us to adapt to them.
Whether you’re getting ready for a major structural overhaul, remodeling a tired kitchen, or simply spending a couple of weekends bringing life back into a dark hallway, this guide cuts through the marketing noise to show you what actually matters when upgrading your home.
1. Fix What’s Behind the Walls Before Buying the Pretty Stuff
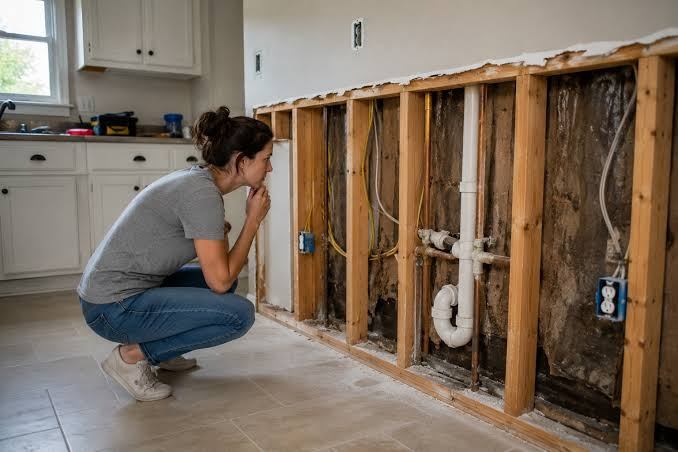
It is incredibly tempting to start every home improvement project on Pinterest or in a tile showroom. We love picking out cabinet pulls, accent paint, and fancy light fixtures. But if you spend your entire budget on cosmetic finishes while ignoring the basic bones of your house, you’re essentially putting expensive lipstick on a cold, drafty pig.
Before you fall in love with a $15-per-square-foot backsplash tile, take an honest look at your home’s core systems.
+-------------------------------------------------------------+
|               THE REAL RENOVATION PRIORITY LIST             |
+-------------------------------------------------------------+
|  1. Water Protection (Roof, Gutters, Plumbing, Caulking)    |
|  2. Thermal Envelope (Air Sealing, Attic Insulation, Doors) |
|  3. Electrical & Air Quality (Panel Upgrades, ERV/HVAC)     |
|  4. Layout & Storage (Drawers, Built-ins, Flex Zones)       |
|  5. Surface Cosmetics (Paint, Tile, Light Fixtures)         |
+-------------------------------------------------------------+
Thermal Comfort & Air Sealing
If your home has rooms that are always freezing in January and sweltering in August, adding more decorative decor won’t help. Most comfort issues aren’t caused by thin walls; they are caused by uncontrolled air leaks.
- Check the Attic First: Warm air rises and escapes through unsealed gaps around ceiling lights, attic hatches, and plumbing stacks. This creates a vacuum effect (the “stack effect”) that sucks freezing air into your house through basement rim joists and floorboards.
- Seal Before You Insulate: Adding fresh insulation over unsealed gaps does very little—air blows right through it like a knit sweater in a cold wind. Spraying expanding foam and applying specialized sealing tape to gaps before laying down insulation will transform how warm your home feels overnight.
Electrical Capacity
If your home was built more than twenty years ago, its electrical system was never designed for the way we live today. Induction cooktops, high-output electric showers, home office setups, EV chargers, and heat pumps demand clean, stable power. Upgrading an outdated 100-amp service panel to a modern 200-amp panel early in your planning prevents massive headaches when tradespeople start installing modern appliances.
2. Ditch Cold Minimalism for Warmth and Real Texture
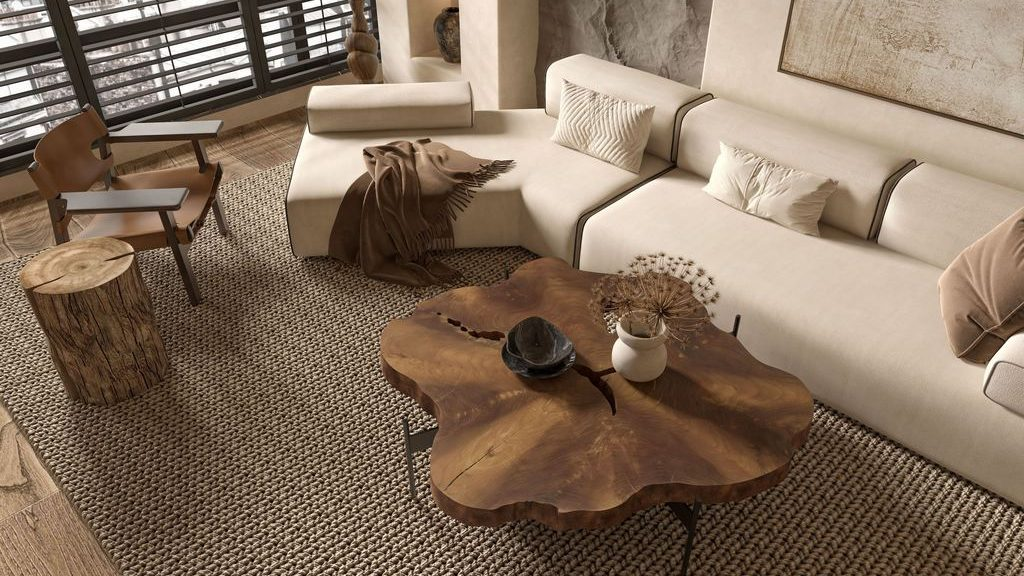
The era of clinical grey walls, stark white subway tiles with black grout, and cold chrome fixtures is officially over. People are tired of living in rooms that feel like dental clinics.
Modern interior design is leaning heavily into organic warmth, tactile materials, and lived-in comfort.
   [ The Cold Minimalist Era ]           [ The Human-Centered Era ]
---------------------------------      ---------------------------------
  * Cool Slate Greys & Bright White    * Cream, Sage, Terracotta & Warm Ochre
  * High-Gloss Plastic Laminates       * Solid Hardwood & Natural Stone
  * Harsh Uniform Overhead Recessed    * Dimmable, Multi-Layered Mood Lighting
  * Smooth Glass & Rigid Metal         * Woven Linens, Wool & Rich Grain Wood
Simple Ways to Bring Warmth Back Into Your Space
- Trade Cool Grey for Creamy Warmth: If you’re repainting, step away from cool, blue-toned greys. Look at warm alabasters, soft muted sages, pale terracottas, and honey-toned creams. These shades absorb daylight gently and make rooms feel cozy on overcast days.
- Embrace Wood Grain: Solid oak, walnut, and warm pine bring instant soul into a space. Whether it’s an exposed wooden mantle, open timber shelving in the kitchen, or natural hardwood flooring underfoot, real wood grounds a room like nothing else.
- Layer Textures Instead of Clutter: You don’t need a hundred decorative knick-knacks to make a room feel full. Instead, layer natural textures: a woven jute rug over wood floors, heavy linen curtains framed against matte-painted walls, and wool throws tossed across a comfortable sofa.
3. Designing Kitchens for Real Cooking, Not Just Looks
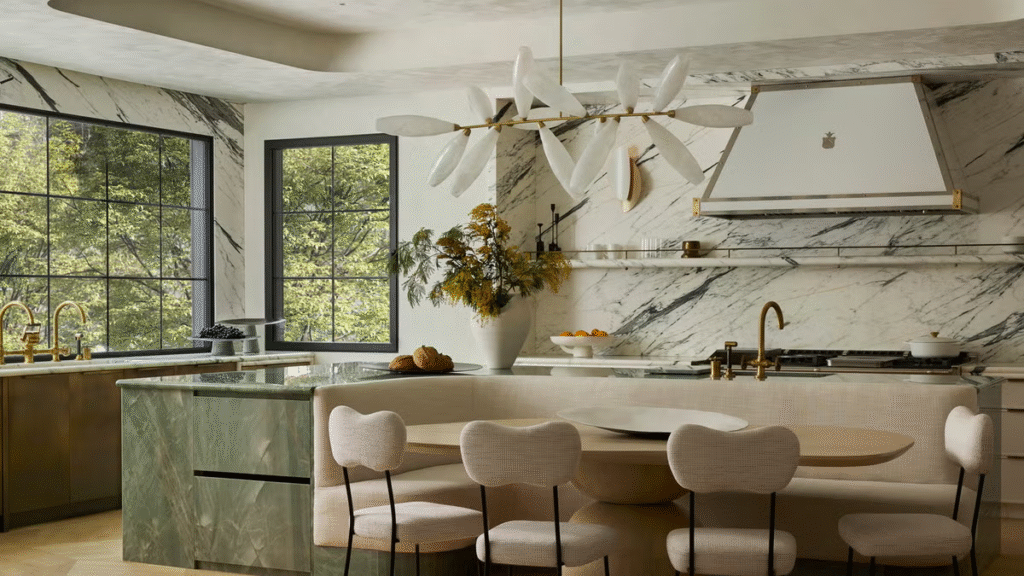
The kitchen is usually the most expensive room in any home renovation—and it’s also the easiest one to get wrong if you prioritize looks over how you actually cook.
For years, design magazines pushed wide, open shelving in place of upper cabinets. It looked gorgeous in staging photos. But in a working kitchen, open shelves quickly turn into dust-and-grease traps for every plate and glass you own.
Modern Kitchen Choice Comparisons
| Old Design Trend | The Modern Practical Alternative | Why It Works Better |
| Standard Lower Cabinets | Deep Pull-Out Drawers | No more crouching down to search dark back shelves for lost pots. |
| Open Wall Shelving | Appliance Garages with Pocket Doors | Hides coffee makers and blenders behind closed doors with internal plugs. |
| Gas Cooktops | Induction Ranges | Boils water in under 90 seconds, cleans with one wipe, no gas fumes indoors. |
| Single Central Light | Under-Cabinet LED Task Strips | Directs bright, warm light straight onto cutting boards without casts shadows. |
+-----------------------------------------------------------------+
|                       KITCHEN WORK ZONES                        |
+-------------------+--------------------+------------------------+
|   PREP ZONE       |    COOKING ZONE    |     CLEAN-UP ZONE      |
| * Deep Drawers    | * Induction Hob    | * Undermount Sink      |
| * Integrated Trash| * Appliance Garage | * High-Efficiency Dish |
| * Task Lighting   | * High-CFM Hood    | * Double-Pull Storage  |
+-------------------+--------------------+------------------------+
Pro Tip: When planning kitchen cabinets, measure your tallest soup pot and your longest cutting board before ordering drawers. Designing custom drawer depths around your actual cookware prevents wasted vertical space.
4. Turning the Bathroom Into a Quiet Refuge
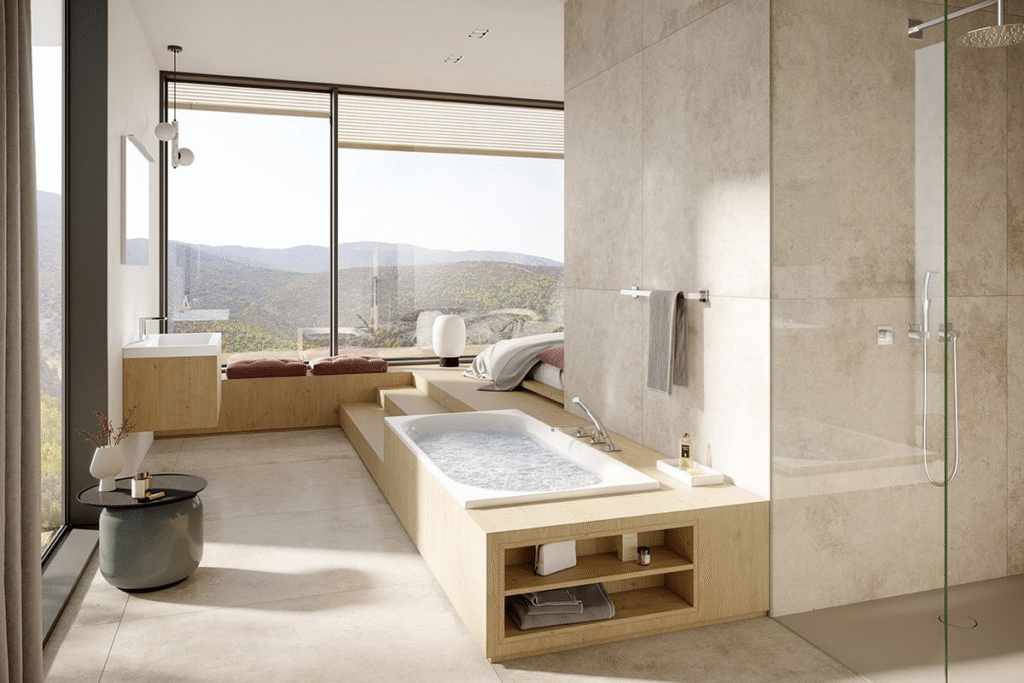
You don’t need a huge, sprawling bathroom to create a spa-like feel. In fact, compact bathrooms often end up feeling cozier and more luxurious when designed with attention to detail.
Practical Upgrades for Small and Large Bathrooms
- Ditch the Tub Curtain for Glass (or Go Curbless): If you rarely take baths, replacing a tight tub-and-curtain combo with a zero-threshold walk-in shower makes the entire bathroom feel twice as big. Using a continuous tile floor that runs straight into the shower stall eliminates visual breaks.
- Put Lighting at Eye Level: A single bright ceiling light directly above the bathroom mirror casts harsh shadows down your face, making morning prep frustrating. Install wall sconces on either side of the mirror at eye level for soft, even illumination.
- Add Heated Flooring: Electric radiant heating mats installed beneath floor tiles cost surprisingly little to run if set on a timer. Walking onto a warm floor on a freezing morning is one of those small daily luxuries you will never regret installing.
5. Flexible Rooms: Making Every Square Foot Count
Our homes have to wear a lot of hats today. A single spare room might need to function as a quiet home office at 10 AM, a yoga or workout space at 4 PM, and a comfortable guest room when family visits for the weekend.
Instead of filling spare rooms with bulky, single-purpose furniture, modern layouts rely on smart adaptability.
       [ Daytime Workspace ]                 [ Nighttime Guest Room ]
+------------------------------------+   +------------------------------------+
|  [ Wall Desk ]  (Active Work)      |   |  [ Murphy Bed ] (Pulled Down)      |
|  [ Sliding Doors: OPEN ]           |   |  [ Sliding Doors: CLOSED ]         |
|  [ Floor Clear for Movement ]      |   |  [ Warm Bedside Lighting ]         |
+------------------------------------+   +------------------------------------+
Smart Ways to Create Flex Spaces
- Wall-Bed Systems (Murphy Beds): Modern wall beds bear zero resemblance to old, squeaky fold-out cots. Today’s custom units feature thick, supportive mattresses built seamlessly into attractive wall paneling. Many designs include floating desks on the outside that fold flat under the bed frame without needing to clear off your laptop or papers.
- Acoustic Dividers: If you need to split a large living room or home office into two separate zones, avoid building expensive permanent drywall partition walls. Sliding wooden slat panels, heavy velvet drapes, or frosted glass pocket doors allow you to open the space up or shut it off whenever noise levels demand it.
6. The Science of Good Lighting (And Why Most Rooms Get It Wrong)
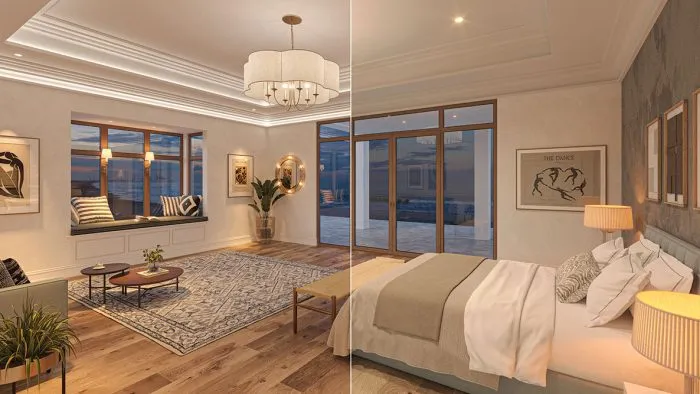
If a room feels cold, flat, or uninviting—even though you love your furniture—the culprit is almost always bad lighting.
The biggest lighting mistake people make is relying on a single overhead fixture (often called the “big light”) to illuminate an entire room. This floods the space with flat light, washes out natural wall colors, and creates harsh glare.
The Three Layers of Lighting You Actually Need
[ Ambient Layer ]  --> Overall base light (Recessed ceiling lights or flush mounts)
[ Task Layer ]     --> Focused functional light (Desk lamps, reading sconces, under-cabinet strips)
[ Accent Layer ]   --> Mood & depth light (Picture lights, bookshelf LEDs, floor-level glows)
- Ambient Lighting: This provides general visibility. Use dimmable, wide-beam ceiling fixtures or indirect uplighting bounced off the ceiling.
- Task Lighting: Positioned exactly where work happens. Think of a focused brass lamp on your desk, an adjustable reading sconce next to the headboard, or bright LED strips under kitchen cabinets.
- Accent Lighting: This brings warmth and personality. Low-wattage LED strips hidden behind a headboard, soft spotlights pointing at artwork, or floor lamps placed in dark corners add visual depth.
Lighting Rule of Thumb: Choose LED bulbs labeled 2700K (Warm White) for bedrooms and living rooms to create a relaxing atmosphere. Keep 3000K (Soft White) for kitchens, bathrooms, and offices where you need clear visibility without clinical blue tones. Avoid 4000K+ bulbs indoors unless you want your home to look like an operating room.
7. How to Plan a Renovation Without Losing Your Mind (Or Savings)
Renovating a home is notoriously stressful, but most of that stress comes from bad sequencing, unrealistic timelines, and vague budgets. If you want your project to run smoothly, follow a disciplined planning framework.
       [ THE RECOMMENDED RENOVATION BUDGET SPLIT ]

   (40%) Core Infrastructure (Framing, Plumbing, Electrical, HVAC)
   (30%) Finishes (Cabinets, Counters, Tile, Flooring, Appliances)
   (15%) Contractor Labor & Permits
   (15%) Strict Contingency Reserve (For hidden issues)
The Unbreakable Sequence of Construction
Never let a contractor start installing finish materials before the core work is finished and inspected. Always follow this exact order:
- Demo & Structural: Tear out old materials, remove unwanted non-load-bearing walls, and insert support headers.
- Exterior & Envelope: Replace old windows, repair roof leaks, and seal exterior wall gaps.
- Rough-In Mechanics: Run plumbing lines, electrical wiring, low-voltage internet cables, and HVAC ducts inside open wall studs.
- Insulation & Inspections: Blow in insulation, air-seal structural voids, and pass municipal rough-in inspections.
- Drywall & Flooring: Hang drywall, tape and sand seams, apply primer, and lay underlayment and flooring.
- Cabinets & Trim: Install kitchen and bathroom cabinets, hang interior doors, and fix baseboard moldings.
- Fixtures & Paint: Connect sinks, toilets, and light fixtures; apply final paint coats; and complete the final punch list.
8. High-Impact Weekend Upgrades Under $200
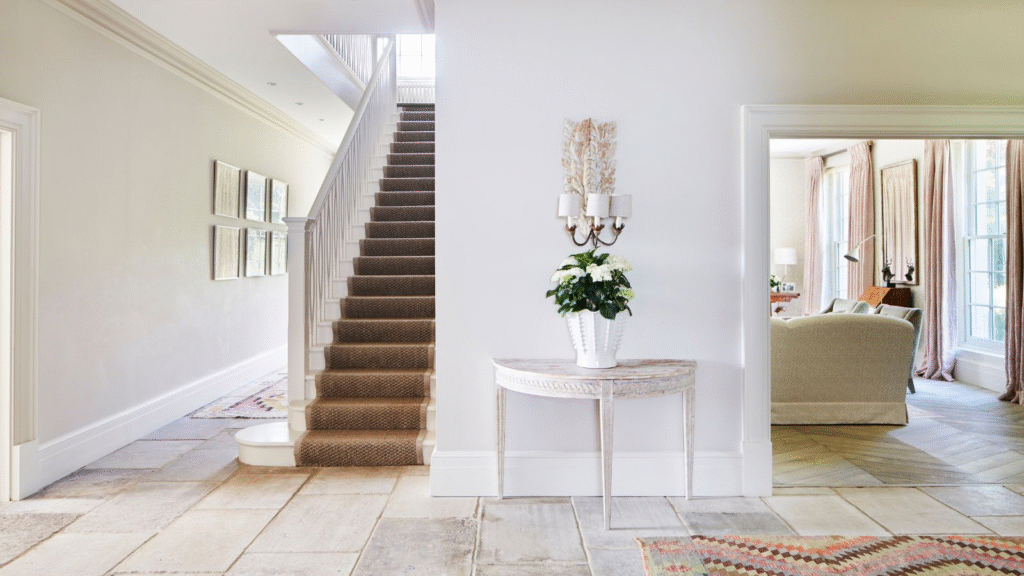
You don’t need a huge budget or six months of dust to make your home feel fresh. If you want immediate wins this weekend, focus on small projects that deliver maximum daily satisfaction:
- Replace Outdated Door Handles: Swap old, noisy brass door knobs for heavy matte black or brushed nickel lever handles throughout your hallway. It takes about ten minutes per door with a single screwdriver, but instantly makes your home feel more modern.
- Update Kitchen Cabinet Knobs: Taking off dated plastic or tarnished metal knobs and replacing them with solid metal pulls transforms old kitchen cabinets for a fraction of the cost of repainting them.
- Install Motion-Sensor Hallway Nightlights: Plug subtle, warm LED nightlights into hallway and bathroom outlets. They guide you safely at night without forcing you to flip on blinding overhead lights when you’re half-asleep.
- Re-Caulk the Bathtub and Sink: Old, cracked, yellowed caulk makes even the cleanest bathroom look worn out. Scraping it away and laying down a fresh, smooth bead of 100% silicone sealant takes two hours and instantly freshens up the space.
FAQs
1. Which home upgrades actually give you the best return on investment? Fixing the unsexy stuff pays off the most. Upgrading an ancient electric panel, replacing a failing roof, or sealing up drafts usually recovers more money than luxury finishes. For cosmetic ROI, a minor kitchen update (fresh paint on solid cabinets, new hardware, better lighting) beats a complete tear-out every time.
2. What is the single biggest mistake people make during a renovation? Blowing the budget on pretty surface finishes before fixing what’s behind the walls. Putting $15-per-square-foot tile over rotted subfloors or outdated wiring is a recipe for disaster. Fix your plumbing, wiring, and insulation first—then worry about paint and tile.
3. How can I make a tiny room feel bigger without knocking down walls? Get your furniture up on exposed legs so light passes under it, and hang your curtain rods right at the ceiling to pull the eye up. Painting your baseboards the exact same color as the walls also removes the visual break at the floor, making the room feel instantly wider.
4. How do I keep a contractor from taking advantage of me? Never accept a vague, one-page quote. Demand a detailed contract broken down by labor, materials, and permits. Most importantly, pay a small deposit upfront (10–15%) and tie all future payments to specific completed milestones. Hold back the final check until every last detail is finished.
5. Is open-concept living officially out of style? Not entirely, but the giant “tear down every wall” look has cooled off. People realized open spaces are noisy and offer zero privacy. Now, the goal is “broken-plan” design—using pocket doors, glass partitions, or built-in shelving to let light flow while still keeping distinct, quiet zones.